Uneven heating and cooling in homes often stem from poor insulation that lets conditioned air escape or enter unchecked. A professional insulation upgrade seals these gaps, distributes temperature more evenly, and reduces energy bills by keeping heat or cool air where it belongs. This approach fixes the root cause rather than masking symptoms with constant thermostat adjustments.
Homeowners dealing with hot spots in summer or drafty rooms in winter find relief through targeted insulation improvements. This article breaks down the problem, explains solutions, and shares practical steps drawn from real installations. Insights here come from hands-on work with insulation in various homes, ensuring reliable advice based on what actually works. To understand why this happens, let’s examine the primary causes.
Causes of Uneven Temperatures
Air leaks around windows, doors, and attics allow outside temperatures to infiltrate living spaces. In older homes, settling foundations or worn seals worsen the issue, creating cold floors and warm ceilings. Without proper barriers, heating systems overwork in winter, while AC units struggle in summer.
Moisture buildup in walls can also disrupt temperature flow. Damp areas conduct heat differently, leading to inconsistent comfort levels room by room. Studies show that up to 30% of a home’s energy loss happens through the building envelope, including insulation failures. The U.S. Department of Energy reports this inefficiency costs the average household hundreds annually in extra utility payments.
Bonus Tip: Inspect visible cracks around outlets and switches first, as these often reveal hidden insulation gaps without needing tools.
Benefits of Upgrading Insulation
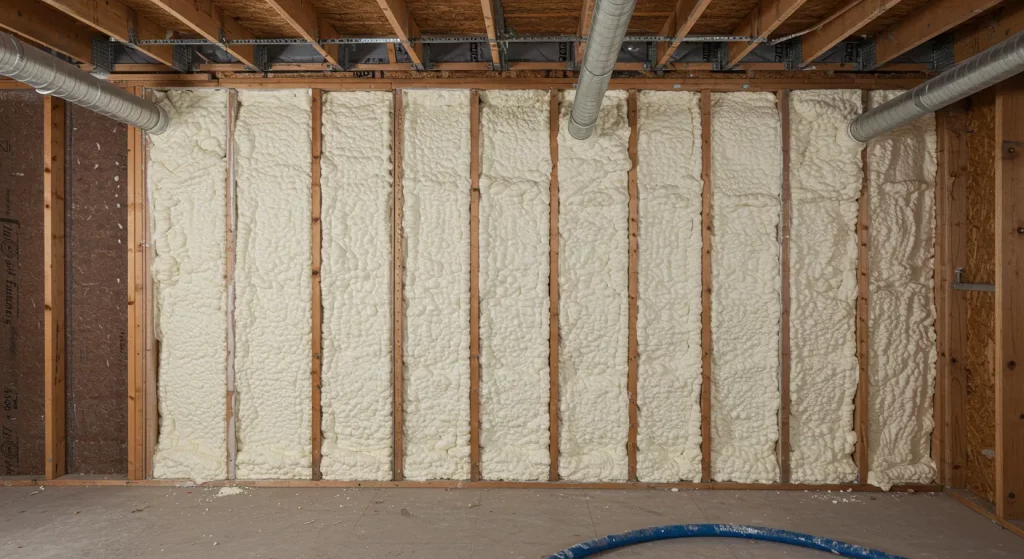
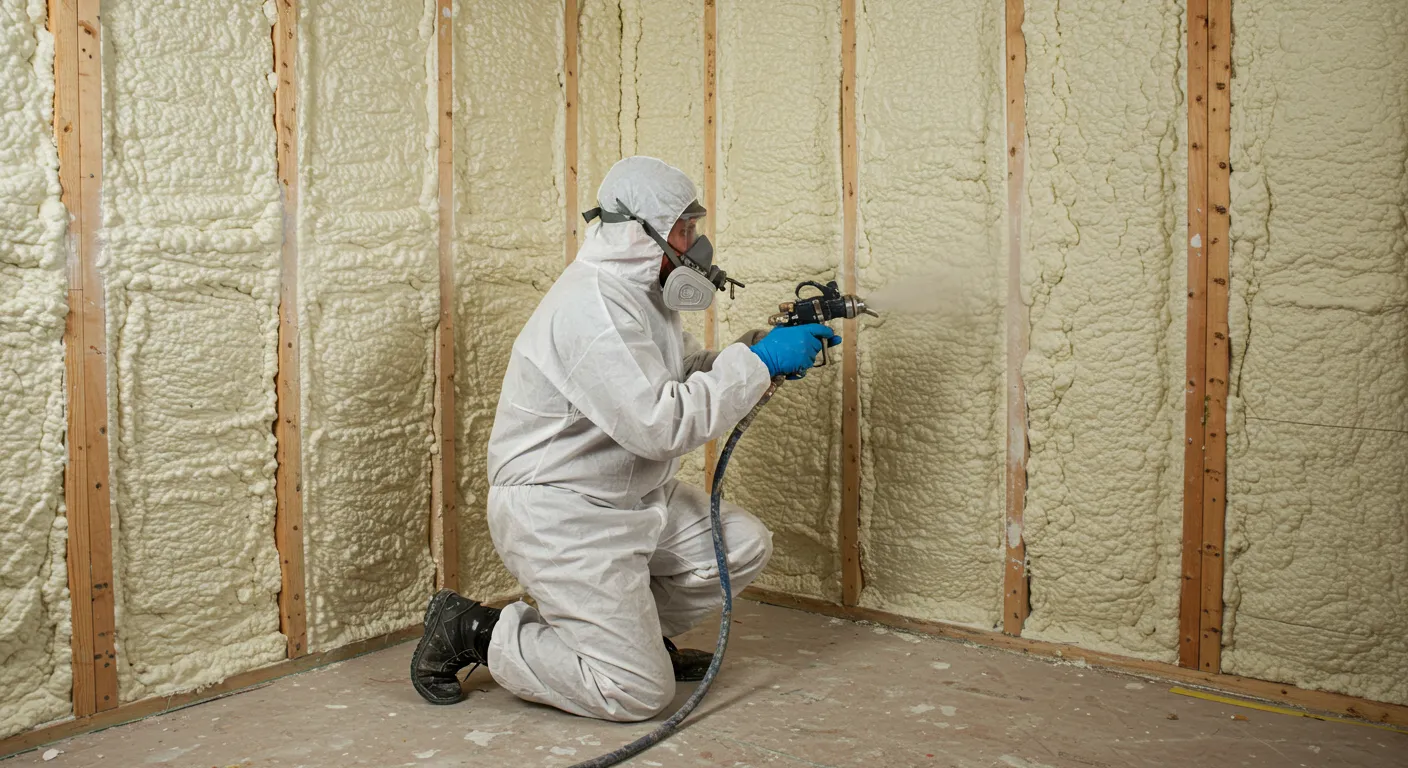
Upgrading insulation creates a thermal barrier that maintains steady indoor temperatures, building on the even distribution mentioned earlier. Materials like spray foam expand to fill voids completely, unlike loose-fill options that settle over time. This results in fewer hot and cold zones, quieter HVAC operation, and longer equipment life.
Energy savings add up quickly. A report from the National Insulation Association indicates that proper insulation can cut heating and cooling costs by 15-20%. In practice, homes with upgraded attics and walls see noticeable improvements in comfort during extreme weather.
Consider the difference in performance across insulation types. The table below compares common options based on R-value, which measures resistance to heat flow.
| Insulation Type | R-Value per Inch | Best For | Drawbacks |
|---|---|---|---|
| Fiberglass Batts | 2.9-3.8 | Walls and floors | Can sag over time, less airtight |
| Cellulose Loose-Fill | 3.1-3.8 | Attics | Settles, may need frequent top-ups |
| Spray Foam (Closed-Cell) | 6.0-7.0 | Sealing gaps | Higher upfront cost, professional install required |
| Rigid Foam Boards | 3.8-5.0 | Basements | Rigid, harder to fit in irregular spaces |
This comparison helps identify materials suited to specific home layouts. Closed-cell spray foam often stands out for its superior sealing in uneven areas.

Step-by-Step Process for an Insulation Upgrade
Professionals start with a thorough home assessment to pinpoint problem areas. Tools like infrared cameras detect temperature variations, guiding where to focus efforts. Next, they remove old, degraded insulation if needed, ensuring no contaminants remain.
Installation follows, layer by layer. For attics, baffles prevent blocking soffit vents, maintaining airflow while adding depth. Walls receive injections or foam through small holes, minimizing disruption. The process wraps with air sealing around penetrations, creating a complete envelope.
In cold climates like Minnesota, where winters drop below zero, upgrades emphasize high R-value in roofs and foundations. Foam Worx Insulation has handled such installs, noting that basements benefit most from rigid boards to combat frozen ground effects.
Bonus Tip: Schedule upgrades in milder seasons to avoid rushing during peak heating demands, allowing systems to stabilize post-install.
Things to Consider Before Making a Decision
Evaluate current energy bills to gauge potential savings. High spikes during seasonal changes signal insulation shortfalls worth addressing. Home age matters too; structures over 20 years old often need updates to meet modern efficiency standards.
Check local building codes for required R-values, especially in variable climates. Budget for the full scope, including any ventilation adjustments to prevent moisture issues. Long-term, consider how the upgrade affects home value, as energy-efficient features appeal to buyers.
Assess health factors. Better insulation reduces dust and allergen circulation, improving indoor air quality. For families with respiratory concerns, this indirect benefit can tip the scales.
Common Questions
How Disruptive Are Home Insulation Upgrades?
Homeowners frequently wonder about disruption levels. Most upgrades take 1-3 days, with minimal mess if pros contain debris.
Should I Choose DIY or Professional Help for Insulation Work?
Another concern involves DIY versus professional work. While basic fixes like caulking work for small spots, full upgrades demand expertise to avoid safety risks like electrical hazards in attics.
What’s the Return on Investment for Insulation Upgrades?
Return on investment varies by home size and location. In moderate climates, payback occurs in 3-5 years through lower bills. Track progress with before-and-after energy audits for concrete results.
Bonus Tip: Pair insulation work with duct sealing for compounded effects, as leaky ducts alone cause up to 20% efficiency loss per the U.S. Department of Energy.
Key Takeaways
Professional insulation upgrades tackle uneven heating and cooling at the source, delivering even temperatures and energy savings. Assessments reveal specific needs, while proper materials ensure lasting results. Consider home details and climate before proceeding to maximize benefits.
Review your utility patterns and inspect for leaks to decide if an upgrade fits your goals. Align choices with long-term comfort and cost objectives for the best outcome.
Next Steps for Better Home Comfort
Take time to assess your home’s current setup against these points. For personalized guidance on insulation options suited to your space, reach out to Foam Worx Insulation at (507) 407-0678 or [email protected]. Schedule a no-obligation review to understand how these changes apply directly to your situation. This step clarifies paths forward without commitment, focusing on informed choices.
Questions About Insulation Upgrades
What signs indicate poor insulation in my home?
Look for uneven room temperatures, higher-than-average energy bills, or drafts near windows. Ice dams on roofs in winter point to attic heat loss, while persistent humidity issues signal wall problems.
How long does an insulation upgrade last?
Quality installations hold up 20-50 years, depending on material. Spray foam resists settling, while batts may compress sooner in high-traffic areas.
Can insulation upgrades improve soundproofing too?
Yes, thicker barriers dampen outside noise from traffic or neighbors. Dense foams absorb sound waves effectively, adding quiet to the comfort gains.
Is it worth upgrading in a rental property?
For owners, yes, as it preserves structure and cuts costs. Tenants benefit from steady temperatures, potentially reducing turnover.
How does climate affect insulation choices?
In humid areas, opt for vapor barriers to control moisture. Dry regions prioritize fire-resistant materials. Tailor to local weather patterns for best results.
Sources
- U.S. Department of Energy – Government resource on home insulation, detailing energy loss statistics and efficiency benefits.
- National Insulation Association – Industry group providing data on cost savings from insulation upgrades, including reports on household impacts.


